This guide explains the process to create the animal tags I added on Printables. The idea behind these tags is that one can utilize them in the wilds to compare to tracks they find.
Steps to Create
Image Aqusition, Cleanup, and SVG Preparation
In the case of animal prints government websites are often a great source of information as there are several that compile track data for use of residents. Massachusetts, for example, provides an animal tracks information page. This was the one I primarily used for the project. For the below example and in my video I used one from Kentuky.
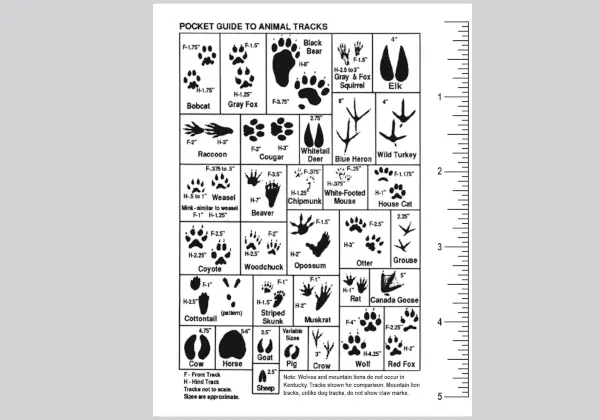
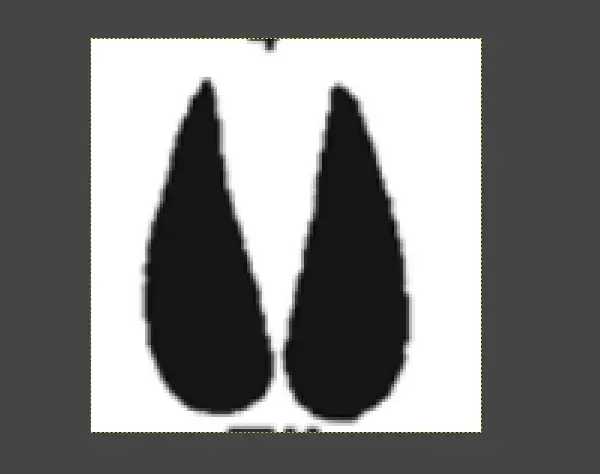
Taking a single track (the Elk) from the field guide:
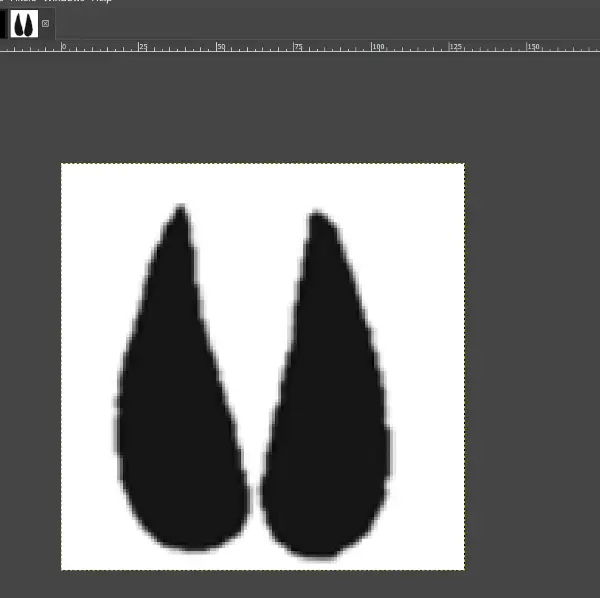
After cleaning in GIMP (a free image editor) removing the marks outside of the track:
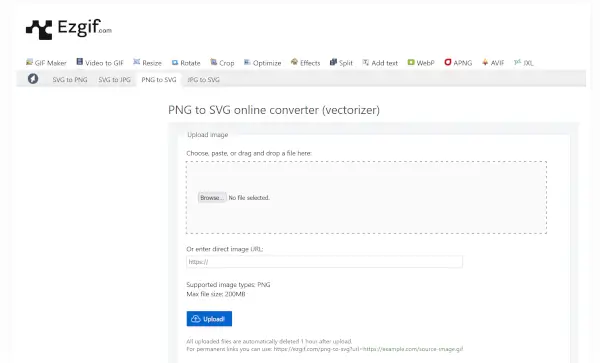
With the cleaned up image we can take it to EZGif’s PNG to SVG tool to convert it:
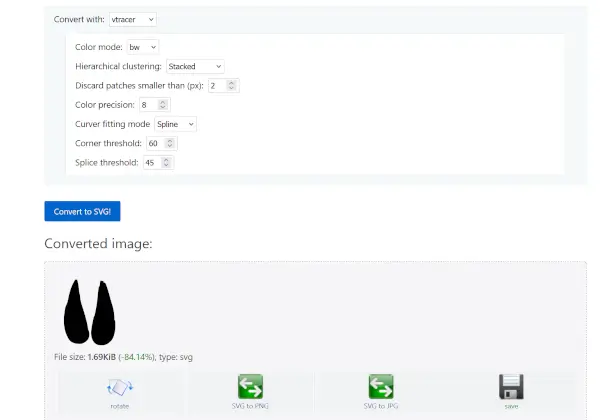
After selecting options to better convert it:
After downloading the SVG we’ll switch to Fusion 360.
Fusion 360
With Fusion 360 there is a personal edition which gives you a chance to learn the tooling if the following applies to you:
Autodesk Fusion for personal use is a limited, free version that includes basic functionality for qualifying users who generate less than $1,000 USD in annual revenue and use for home-based, non-commercial projects only.
For this part of the project we’ll utilize the fusion 360 tooling to imprint the animal track into the 3D model and also to emboss text into the tag.
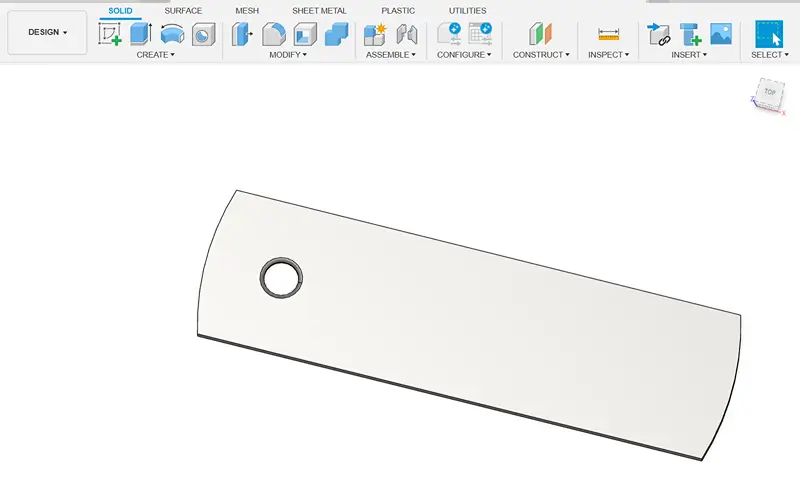
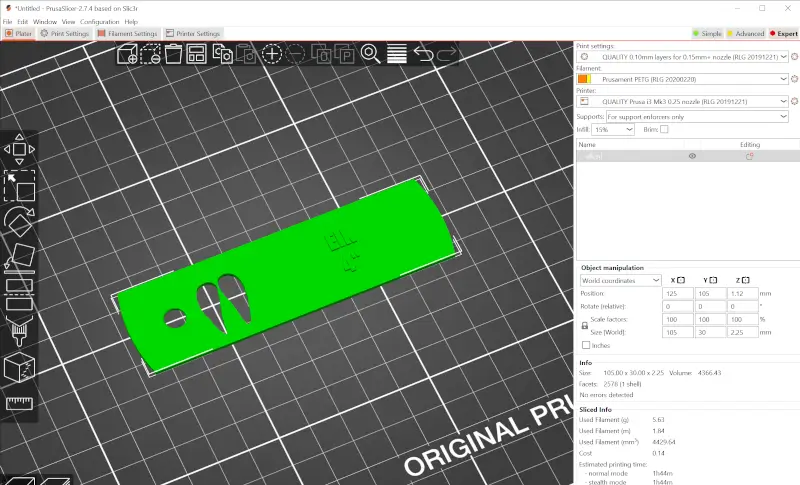
For the purposes of this guide the starting point is the blank animal tag:
Once inside of the tool, in the Solid menu there’s the option to create a sketch. Once in the sketch view you can select the surface of the print and add sketch related elements.
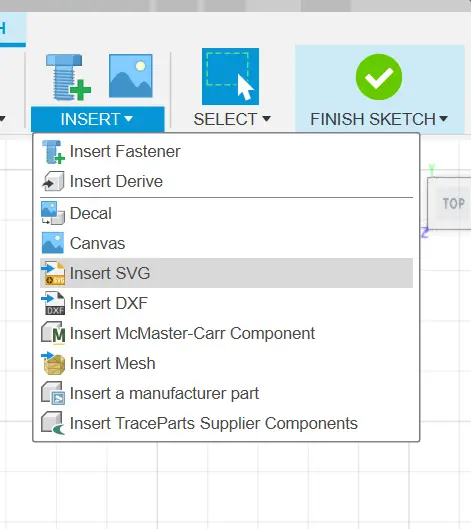
From the insert menu there’s the option to “Insert SVG”:
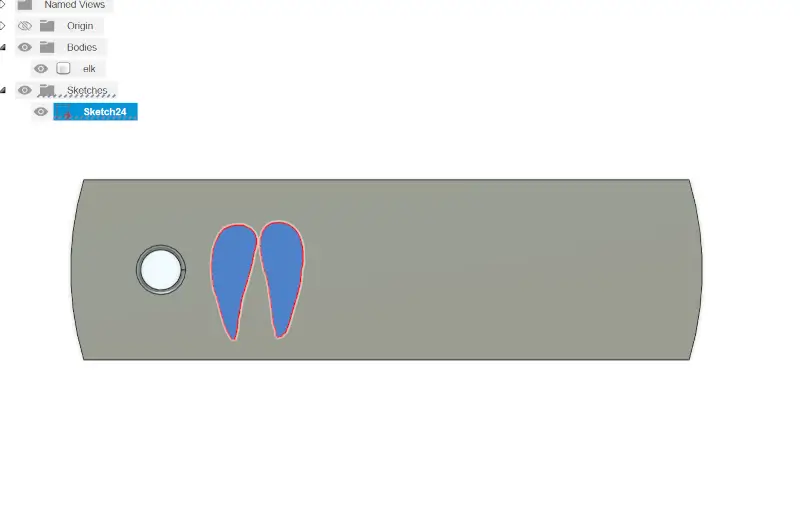
With the SVG inserted you can scale and position it as needed until it’s in the proper location for extrusion. Once there click the button to finish the sketch you can then select the surfaces to extrude.
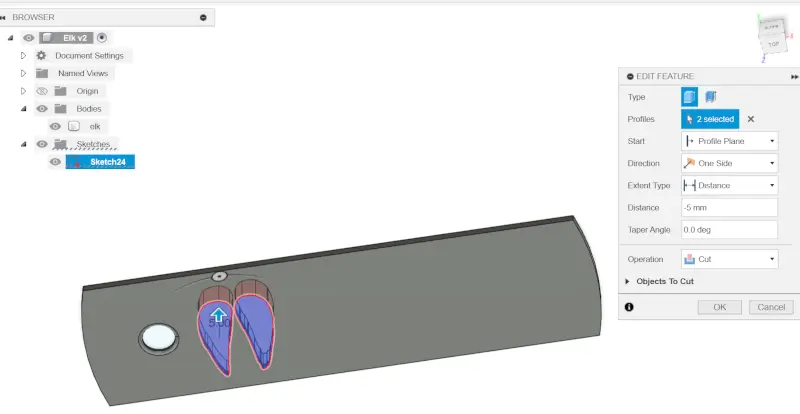
With a suitable distance set for extrusion you can cut into the surface:
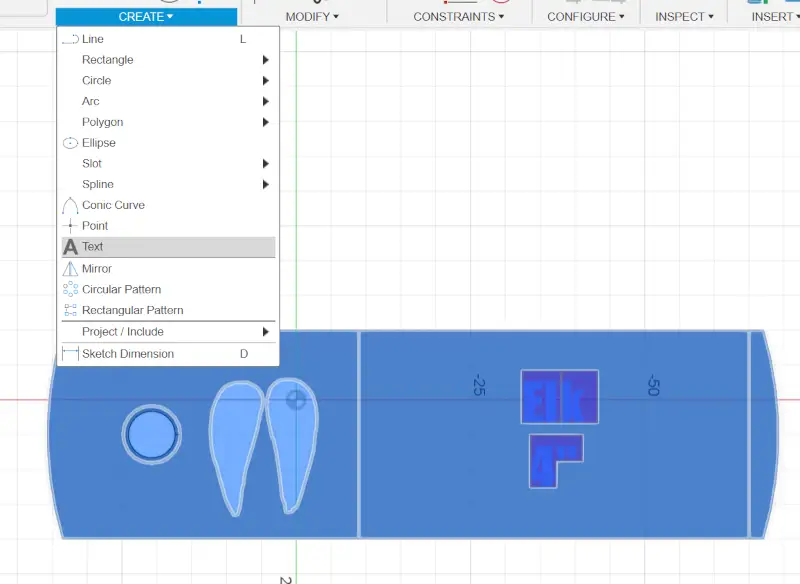
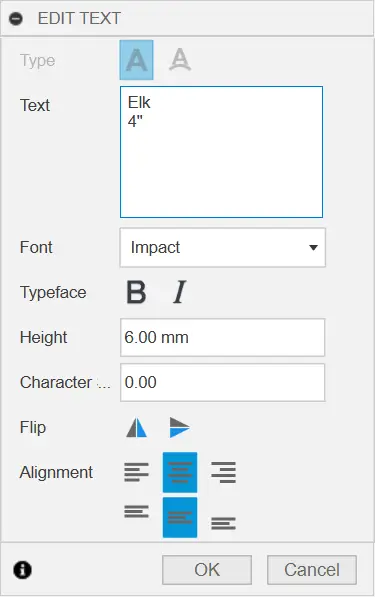
The next step, if trying to emulate my design, is to create a sketch again and use the create text option to type out additional information for printing:
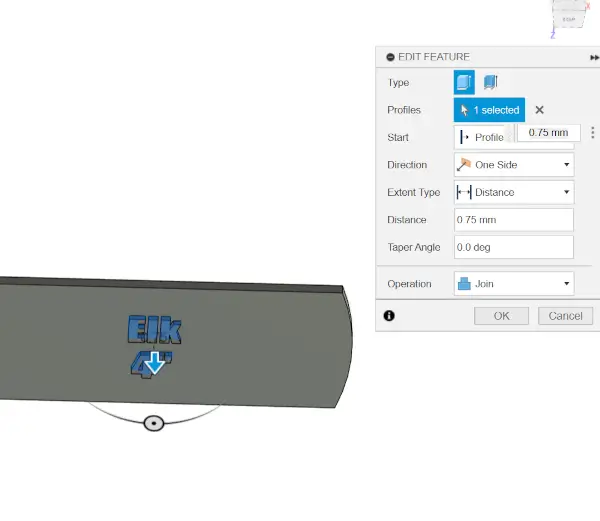
For my own settings I used a 0.75mm extrusion for the text:
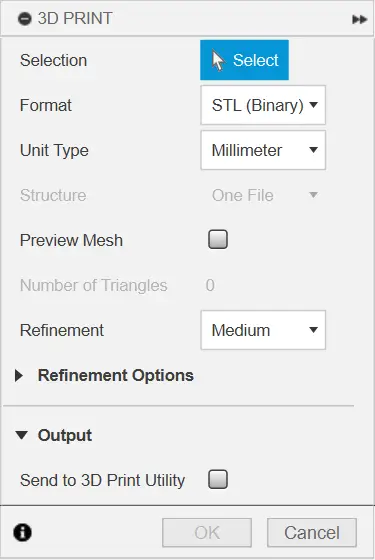
Finally with Fusion 360 you’ll need to export the model for printing:
Prusaslicer
With the model exported for printing it can imported into Prusaslicer for printing (or any other similar software).
If you want a similar effect with the color change I did you can add a color change to the print. With my i3 MK3S the firmware pauses at this point and begins beeping alerting me to perform the change.
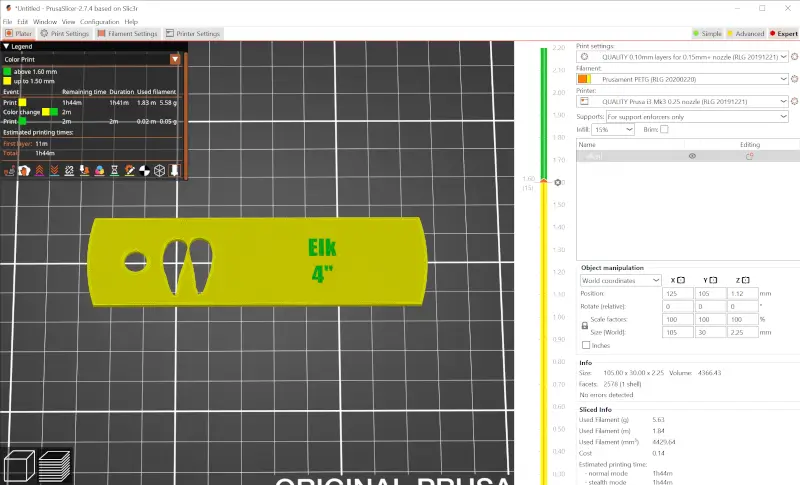
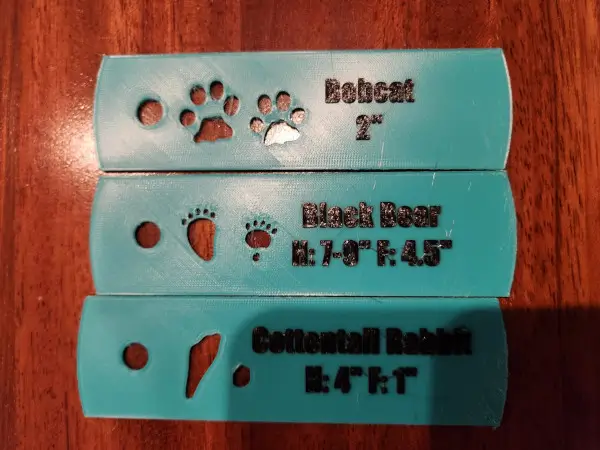
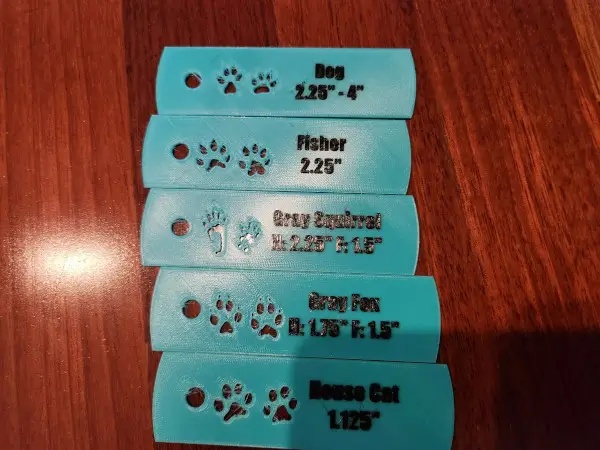
Once that is complete you can print the model. I think they turned out well.

Closing Thoughts
This approach works well for black and white images. I think having 3D printed objects also helps people visualize how the tracks look and it gives a great way to compare while out in the wild.